I have always been excited about the opportunities open street level imagery (SLI) offers to OSM. I helped launch OpenStreetView (now Kartaview) back when I worked at Telenav and was an early contributor to Mapillary as well. Recently, I've had the opportunity to work more closely with the great folks at Mapillary. This re-kindled my excitement for SLI & OSM! Good things are rolling out and will continue to roll out in 2023, so stay tuned! The Mapillary blog is the best source for announcements.
Most recently, Mapillary added support for 360° video upload to their desktop uploader and the CLI tools! This is great news for anyone with a supported camera, like the GoPro MAX. I happen to have one of those so time to try it out!
The Mapillary help pages include great and authoritative guides on using 360° cameras including specific instructions for using the GoPro MAX. This post is just me summarizing my own experience.
Preparing #
You only need to do these steps once.
- Get the latest version of the Mapillary Desktop Uploader available for Windows, Linux and MacOS.
- Install the Uploader onto your computer.
- Open the Uploader and log into your Mapillary account.
Capturing #
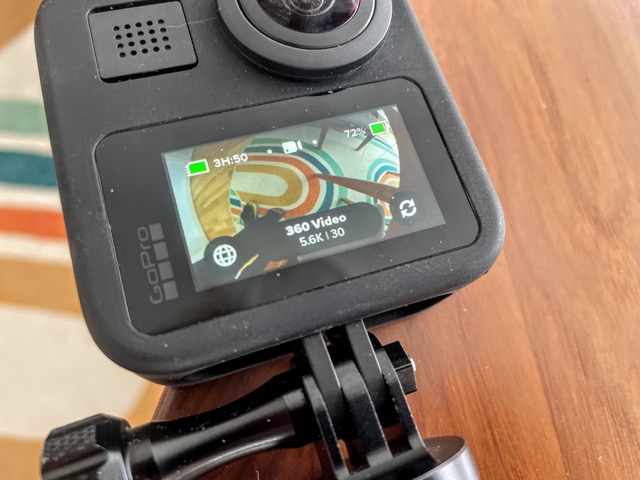
- Make sure your GoPro MAX is fully charged and set to 360° video. I used 5.6k and 30fps1.
- Head outside, push the record button and start walking / riding! I use and recommend a telescopic pole with a standard GoPro mount to hold the camera, those are easily and cheaply available on Amazon or other retailers.
- When you're back, push the record button again to end your recording session.
Uploading #
- Pull the SD card out of the GoPro MAX
- Insert the card into your computer
- Open the
DCIM/100GOPROfolder2 - Open the Mapillary Desktop Uploader
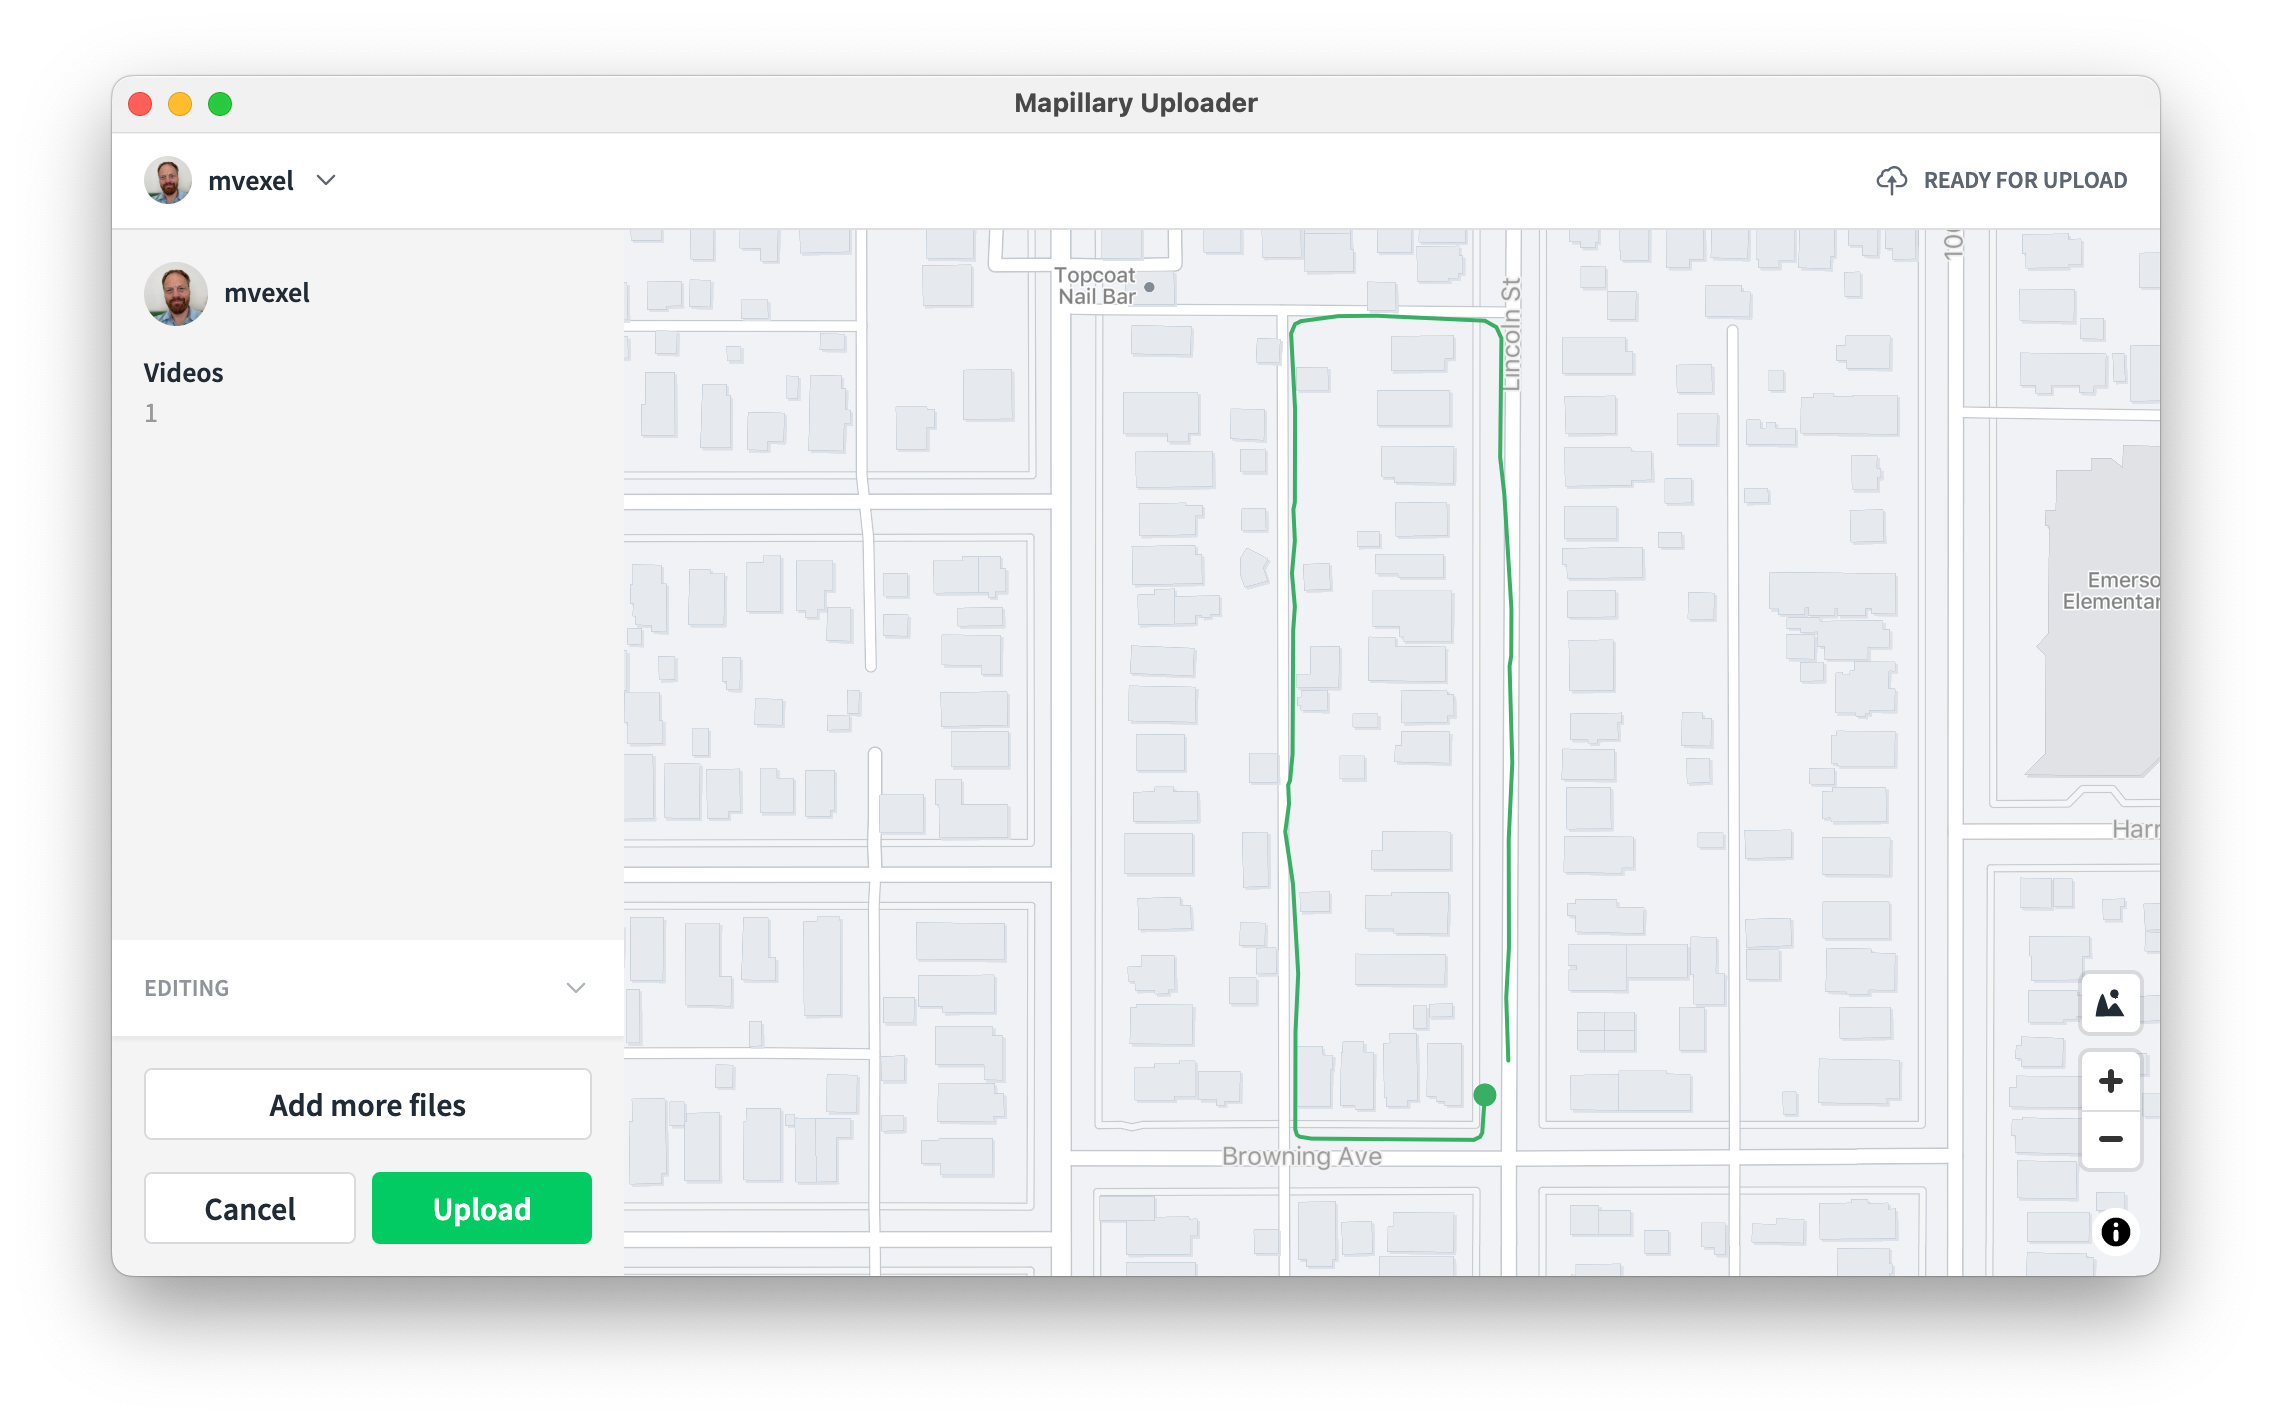
- Drag the video file3 onto the Uploader window. After a little while, the Uploader will show a map with your route:
- Hit Upload!
It takes about a day for the sequence to become available on Mapillary and in your OSM editor.
This is my original ❄️☃️ footage, and this is the resulting Mapillary sequence.
Things to consider #
- Make sure GPS is enabled....I didn't get my camera new so I don't know if it's enabled by default out of the box. Mapillary can't do anything with non-GPS-tagged video.
- Don't capture more than needed, 30fps 5k video is wild overkill for walking.
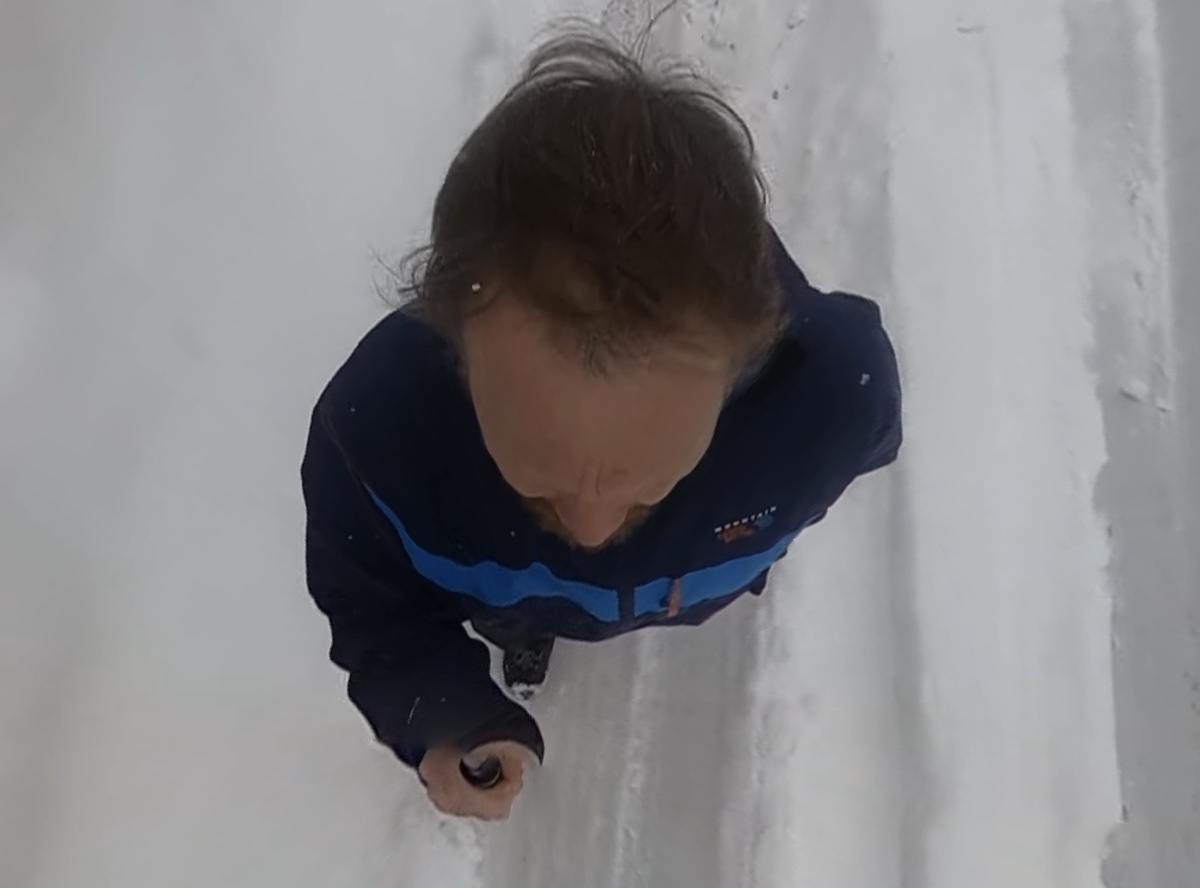
- With a 360° camera, you are going to be in the field of view if you're walking or biking. Not your face, but still, something to be aware of:
Concluding & What Next #
I'm impressed by how easy this was. Just drag and drop and done! I do wish the images would process more quickly. 24h can be a long time to wait when you're eager to start mapping.
Next up, once the snow melts and it's safer to bike around again, I'll try capturing while riding. I found a GoPro helmet mount in my stash of old GoPro accessories:

I'm also looking forward to the uploader and command line tools gaining support for more video types. I hear from the Mapillary team that this is in the works. If you have a sample video of an unsupported camera, let me know!
If you're in the Salt Lake City area, come to one of the local meetups and I'll be happy to lend you my GoPro so you can try it out for yourself.
-
The Mapillary blog recommends timelapse pictures rather than video when walking, but I wanted to test the full video support. This produces very large files! My 5 minute walk yielded a 2.2GB file. ↩︎
-
The folder might have a different number like
101GOPROif you have a large number of captures on the SD card. ↩︎ -
Video files are named like
GSxxxxx.360. If you recorded time lapse images instead, they will be namedGSxxxx.JPG. In that case, you can select all the images and drag them onto the application. ↩︎