This post is a follow-up on my series on GoPro Max panoramic imagery capture for Mapillary. Find part 1 here and part 2 here.
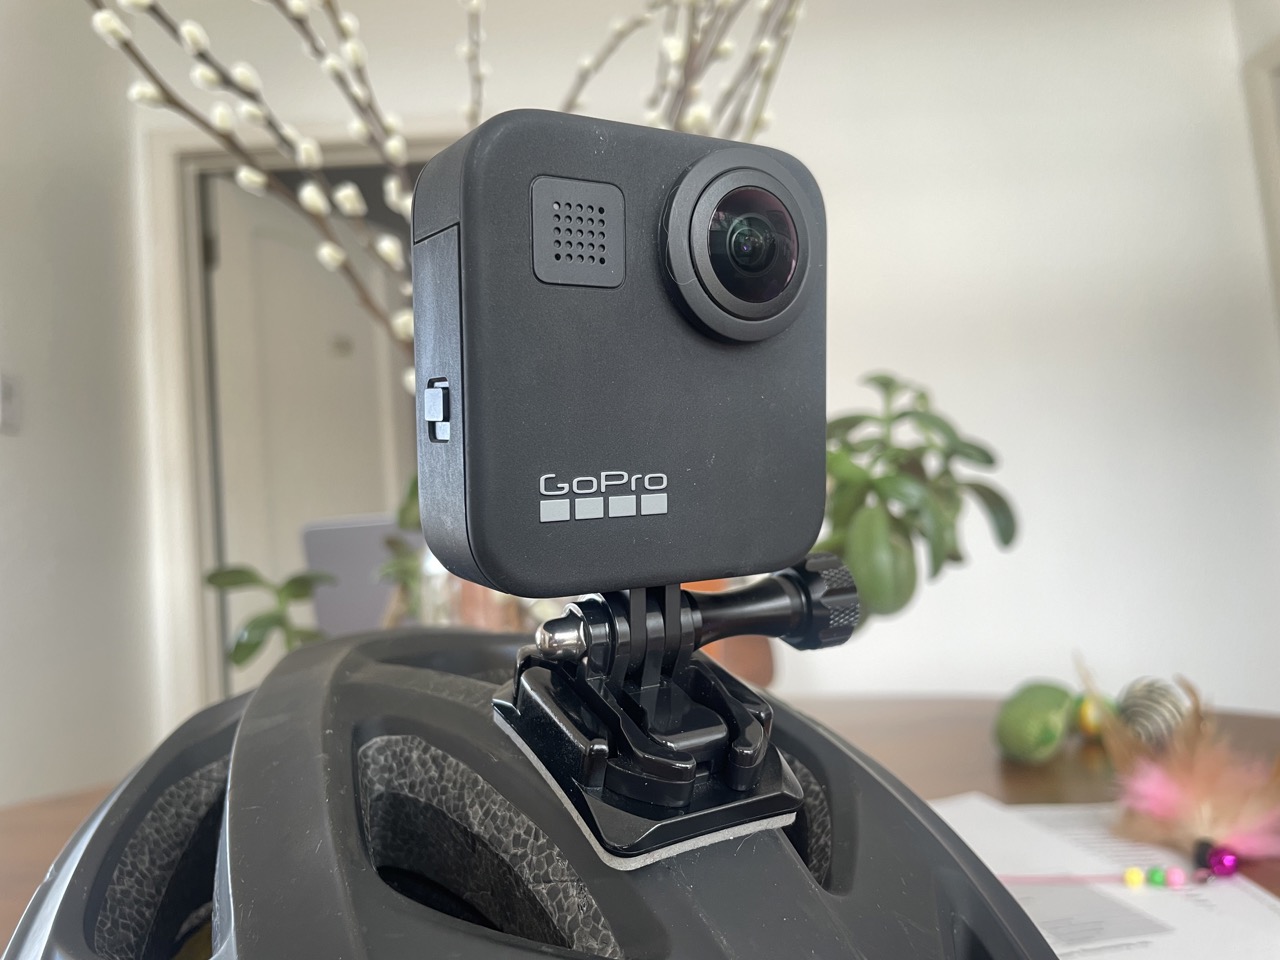
To capture true 360 degree images with a camera that has just two lenses, compromises are unavoidable. Optics dictate that a lens that captures a 180 degree field of view will have some image sharpness falloff at the edges of the field of view. I hadn't considered this when I first started capturing with the GoPro MAX. I just mounted it the way I would a regular GoPro and didn't give it another thought:

Until I started looking at the result more closely. Here's a detail of a recent capture:

I can't read what's on this sign at all. And I was biking right past it. We must be able to do better that that! That's when I considered what I knew about the optics of extreme wide angle lenses. (I've been an amateur photographer for a long time and used to love to shoot with 16-24 mm lenses.)
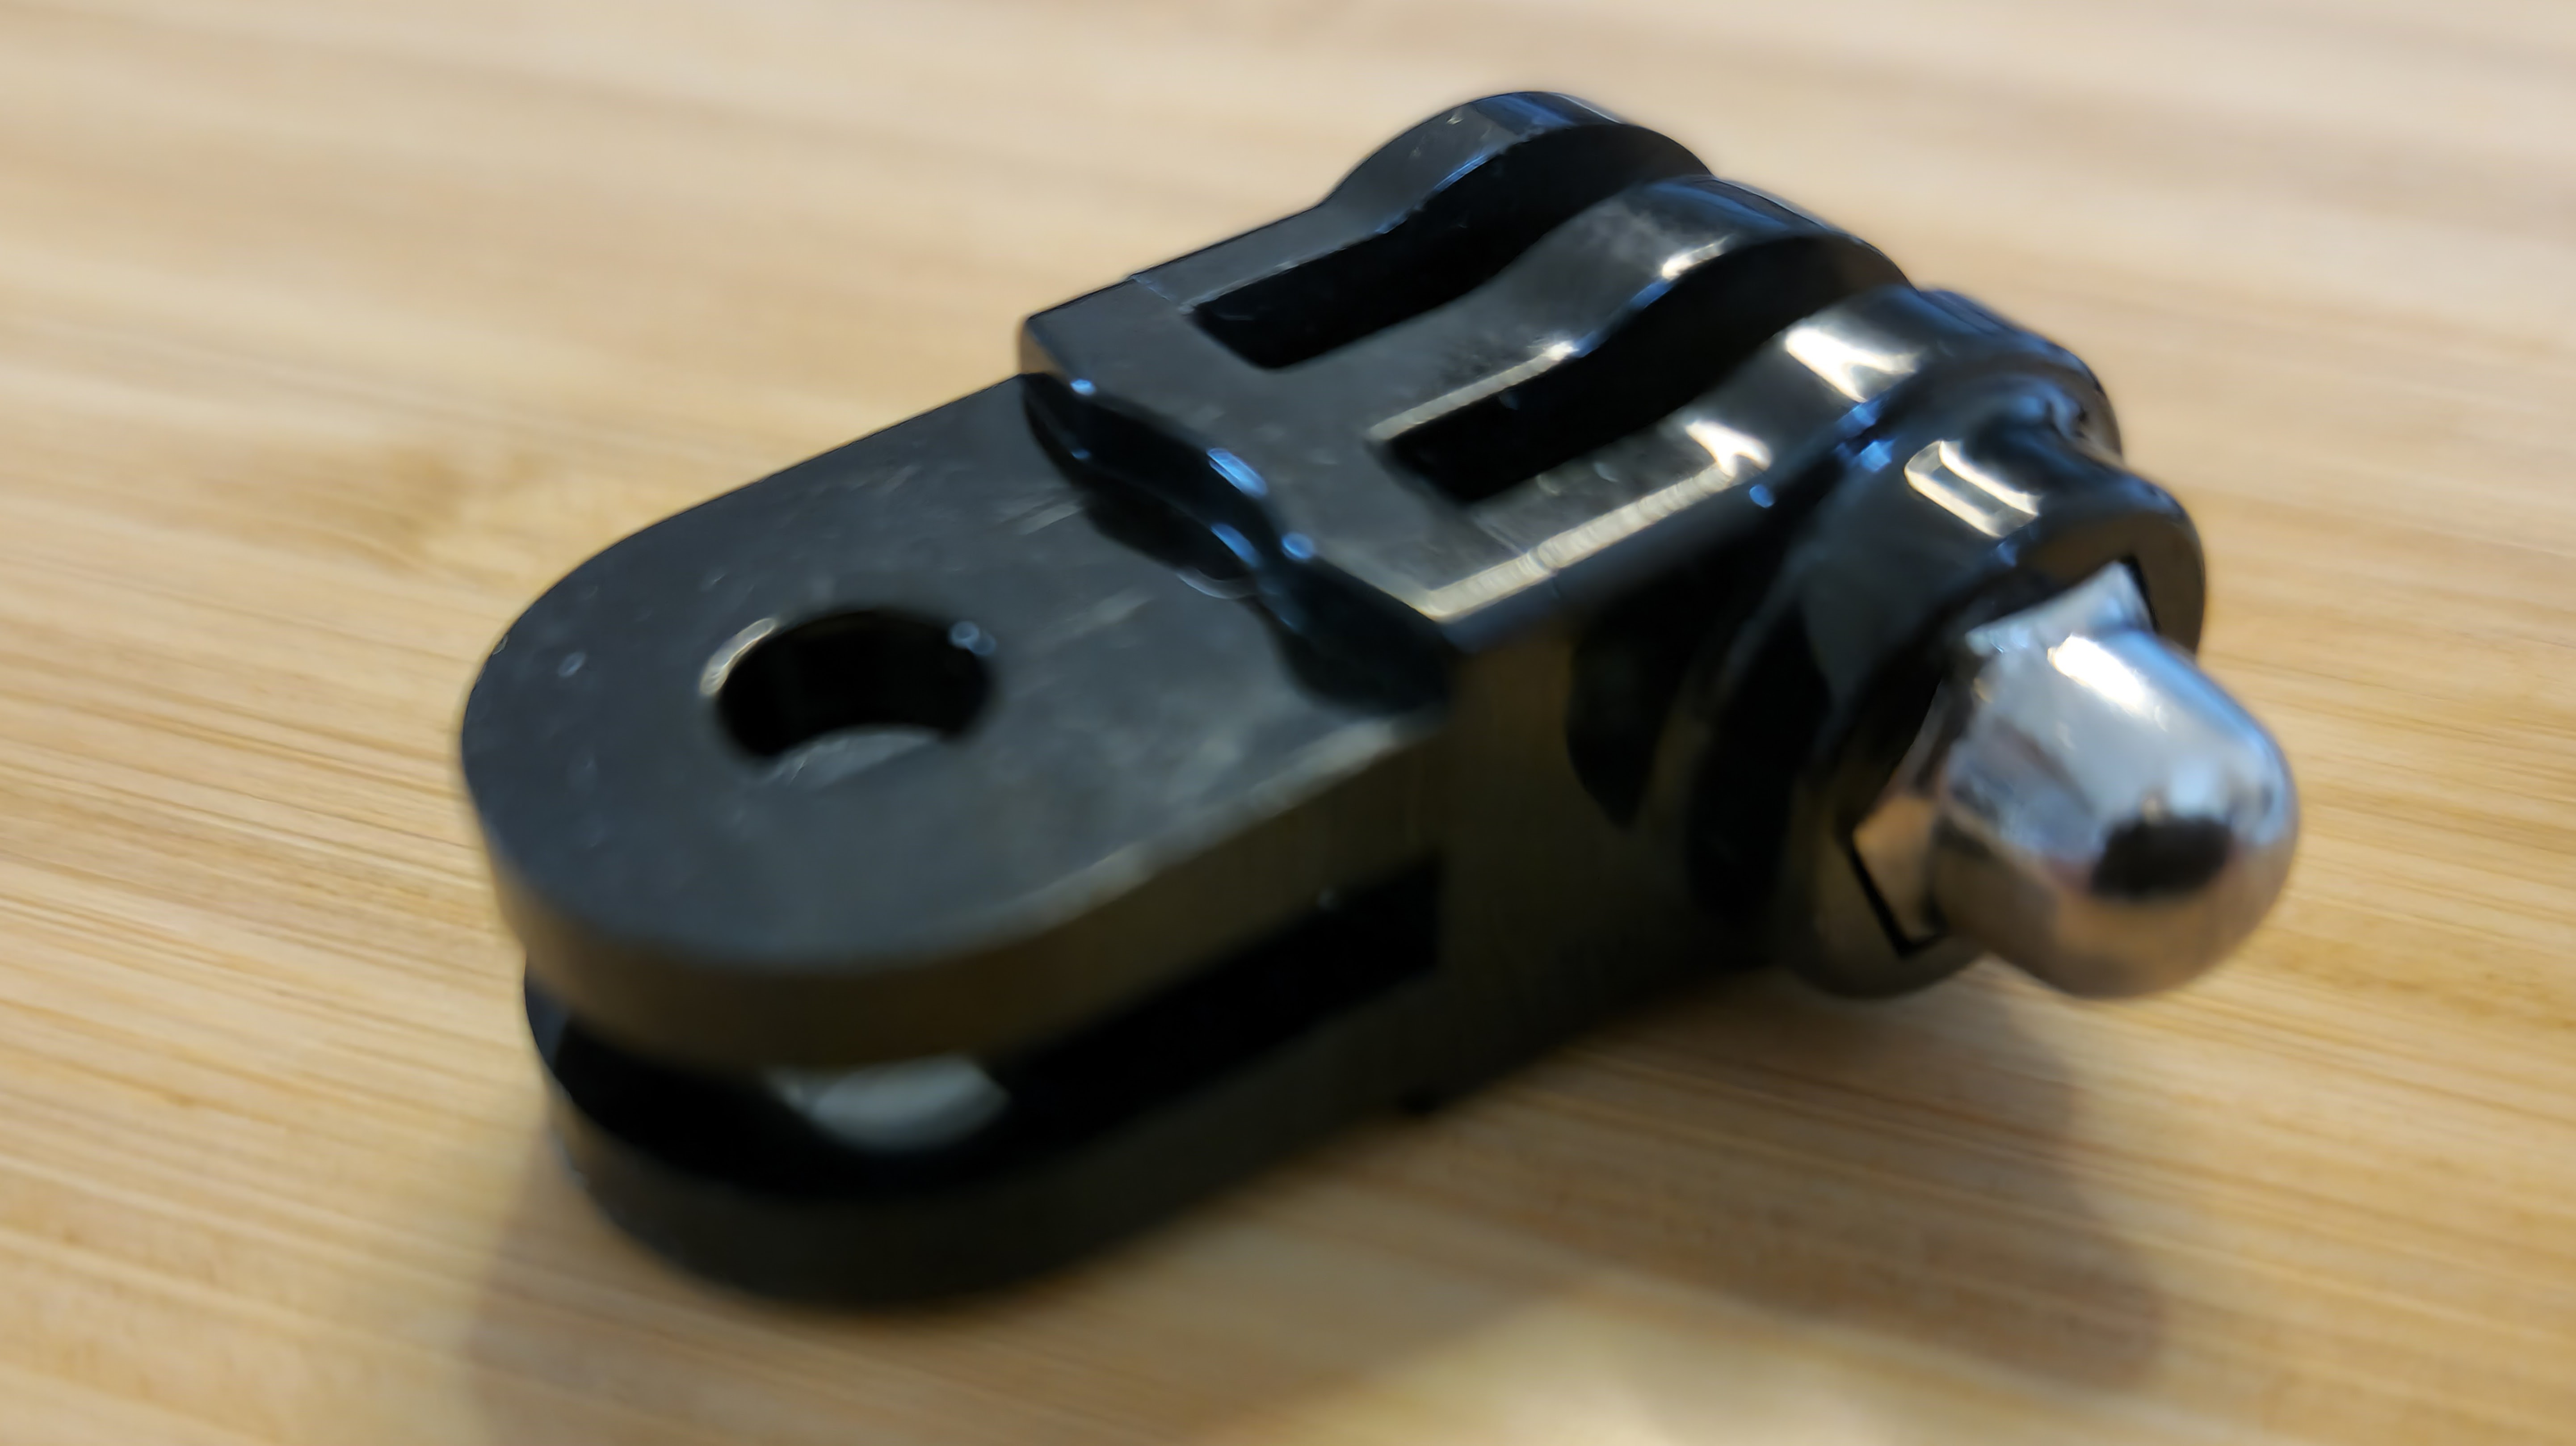
So what if I flipped the camera 90 degrees? Another dig through my old GoPro accessories gave me just what I needed for that:

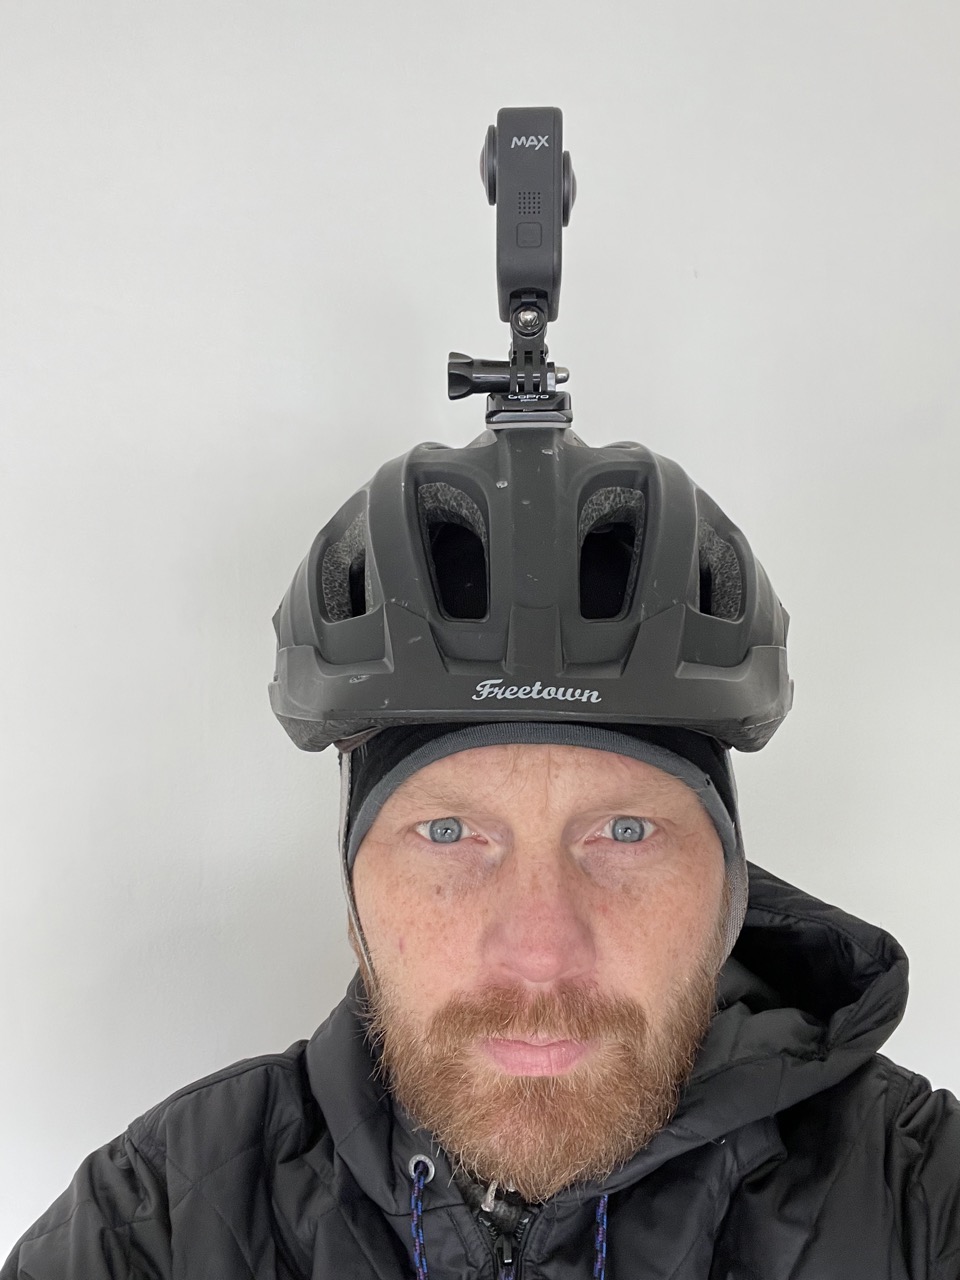
With that in place, I now look like this:

I immediately went out for a test ride and captured two sequences:
Here's a detail from the "Classic" sequence, with the camera facing forward:

Here's the same detail, but captured with the camera facing sideways:

These captures were made only minutes apart, so the conditions are pretty much identical, and I made sure to bike at an even speed for both capture sessions. I'd have to do more comparisons to really draw a solid conclusion, but it looks like it really does make a meaningful difference!
Arguably, sharpness and detail matter most not in front of you when you're driving / walking / biking, where most of the interesting features are relatively large (like crosswalks or traffic lights), but to your left and right, where you would encounter store fronts, house numbers and other small details that are valuable for mapping. With that in mind, this way of mounting the camera makes a lot of sense.
I will continue using the GoPro MAX mounted different ways for a while and see if this conclusion holds up!
If you are interested in purchasing everything that is necessary to mount a GoPro on a bike helmet and mount it sideways, this accessory kit1 contains everyting you need. It costs USD 20 at the time I write this.
-
This is a link to the kit on the official GoPro web shop. It's not an affiliate / sponsored link. ↩︎